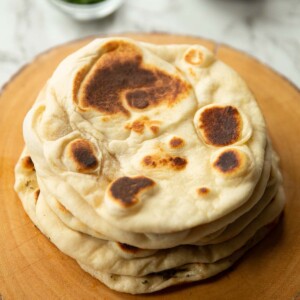
These homemade flatbreads are quick, easy and only require 3 main ingredients. No yeast required!
As one of my most loved and most popular recipes, I had to include this in my Debut Cookbook ‘Comfy’!
If you’re anything like me, the word ‘bread’ fills you with joy and fear at the same time. To eat? Gimme all the bread. To bake? Absolutely not. If you’ve been a reader of mine for a while you know we don’t bake around here 🤣. These flatbreads however are incredibly easy to make. No yeast, but you still get that awesome, chewy & fluffy texture. Follow me…
Yogurt Flatbread Ingredients
- Flour – Just regular plain/all purpose flour does the trick.
- Baking Powder – This helps the flatbread puff up and go nice & fluffy.
- Yogurt – Plain/Natural yogurt. Make sure it’s unsweetened and unflavoured.
- Salt – Fine grained, not sea salt.
To prepare the flatbreads it’s easy stuff right from the get go. The bulk of the dough is flour & yogurt, and you need equal weight of both.
You’re looking for the dough to be slightly tacky, but not so much it sticks to your fingers. It’s incredibly easy to adjust the flour/yogurt to alter the consistency if needed.
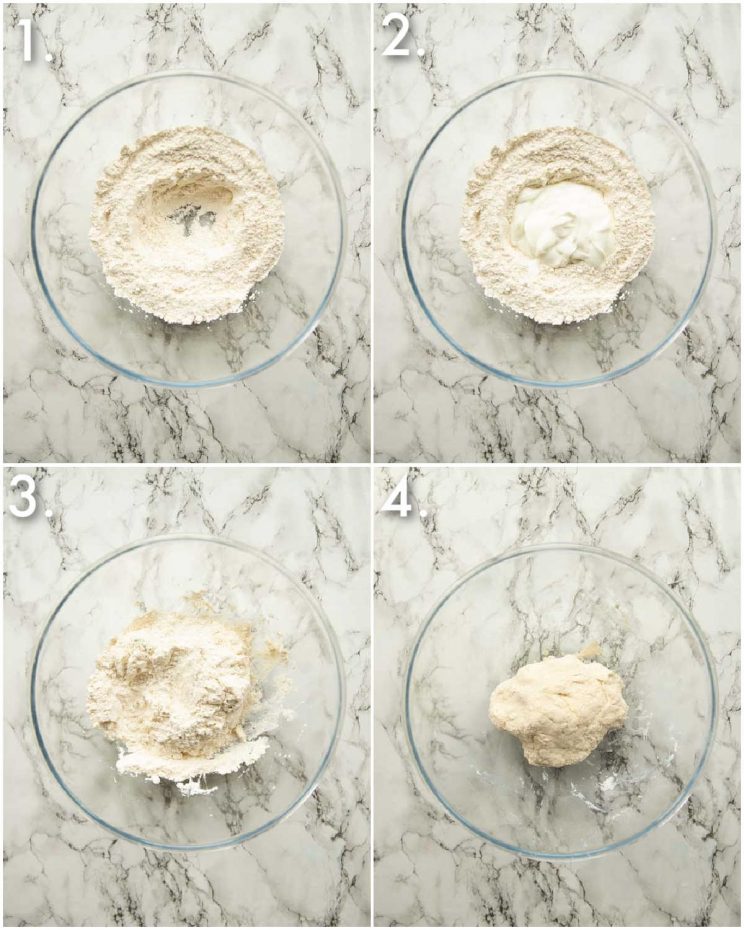
Process shots: whisk flour, salt, baking powder & make a well (photo 1), add yogurt (photo 2), roughly combine with spatula (photo 3), form a ball with your hands (photo 4).
Making Flatbreads
When it comes to making the flatbreads I’d say kneading is necessary, but proofing is optional (since there’s no yeast). Kneading the dough for a few mins will smooth out the dough, which is necessary to help keep the bread from cracking. I also like to let it rest for 20mins or so, just to help the dough relax/rise slightly. You can skip the ‘proofing’ and the difference in outcome is minimal, but they’ll just be slightly less puffy.
How do you roll out flatbread?
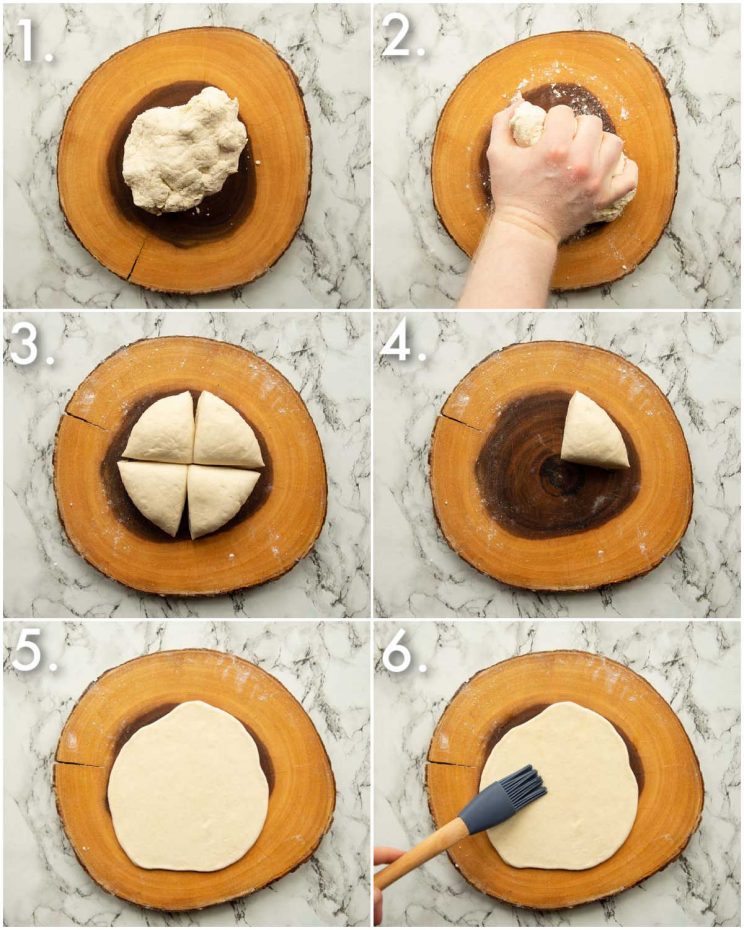
All you need is a flat surface, a pinch of flour and a rolling pin! You’ll most likely need to add in flour as you rolling it out, but start off conservatively or the dough will dry out and begin to crack. Just divide the dough into 4 slice roll into circles.
Do you need oil to cook flatbreads?
Nope! I do like to very lightly brush both sides with olive oil. I find it crisps them up very slightly, but you can add them straight into a pan completely dry and they’ll come out great.
Pan Fried Flatbread
To cook the flatbreads you’ll want to pan fry them.
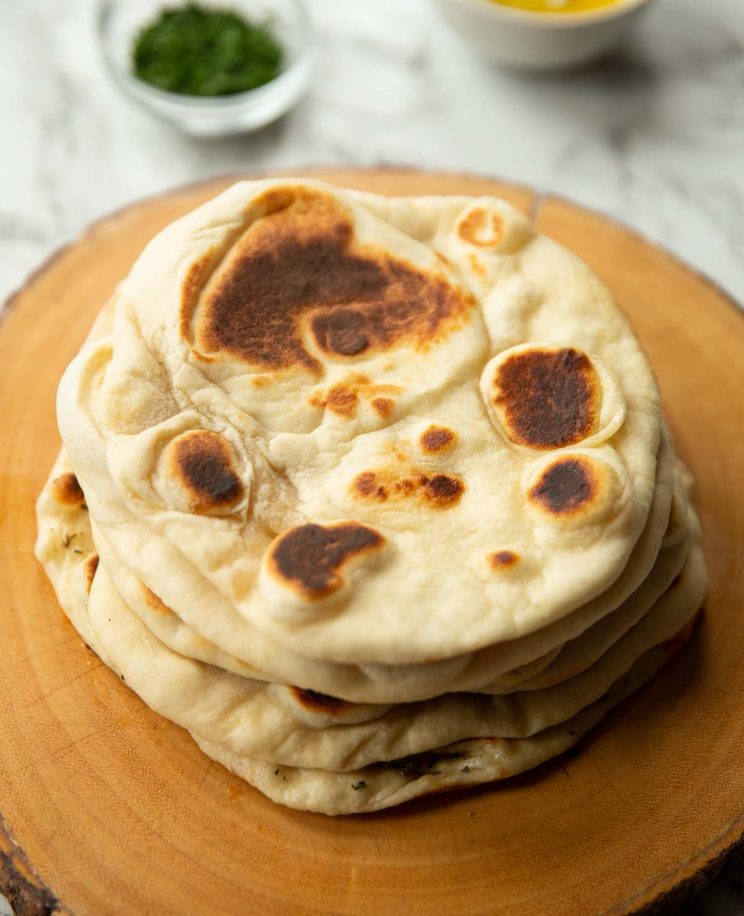
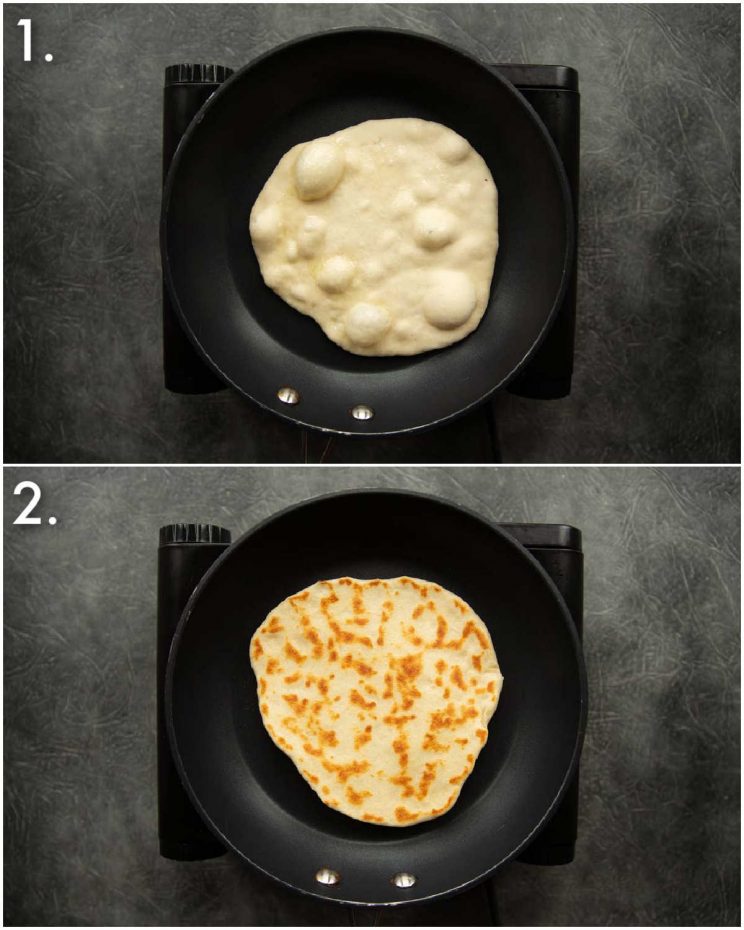
Personally I like my flatbreads similar to naan bread i.e. a little thick, a little chewy, nicely charred and slightly firmer than regular flatbreads. In order to achieve this you’ll want the heat fairly high. If you want more pliable, less charred flatbreads, a low/medium heat is more suitable.
In both cases it’s only a matter of minutes per side. You know you’ve made a cracking dough when you see the air bubbles forming as the flatbread cooks!
Garlic Flatbreads
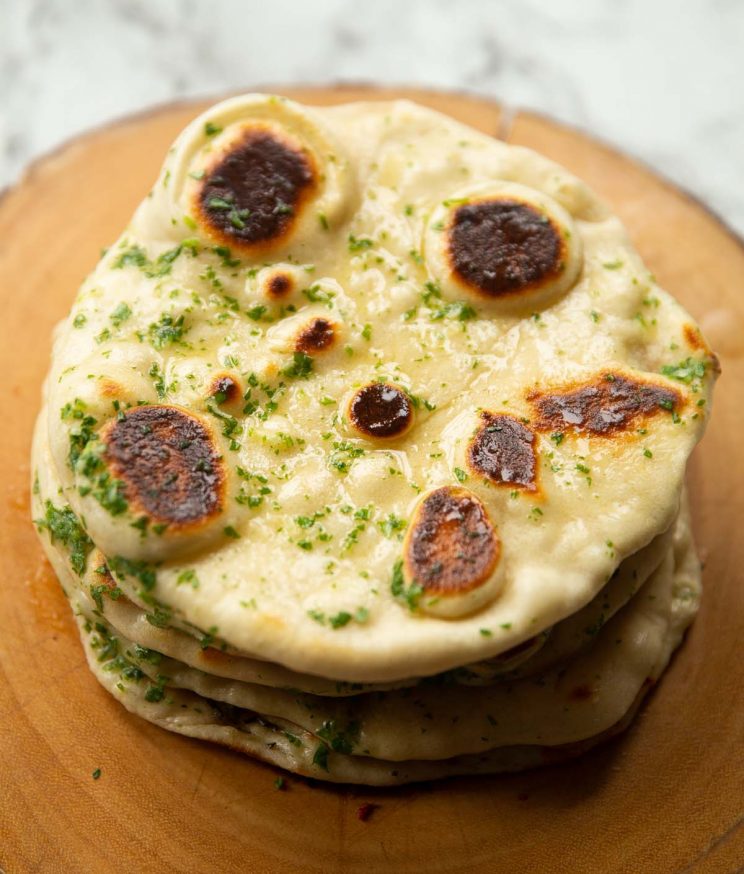
You can serve them as they are, but more often than not I like to slather mine in garlic butter. For the garlic butter you’ll need:
- Melted Butter – I usually go unsalted and add salt to taste but regular butter (or even ghee if you have it) works great.
- Garlic – Minced/grated. 1 clove will go a long way, especially because it’s raw/minced!
- Herbs (optional) – I usually go for parsley, because it’s the most ‘neutral’ kind of herb and classically goes with garlic butter (i.e. garlic bread). However rosemary works very nicely, as does coriander/cilantro.
Serving Flatbreads
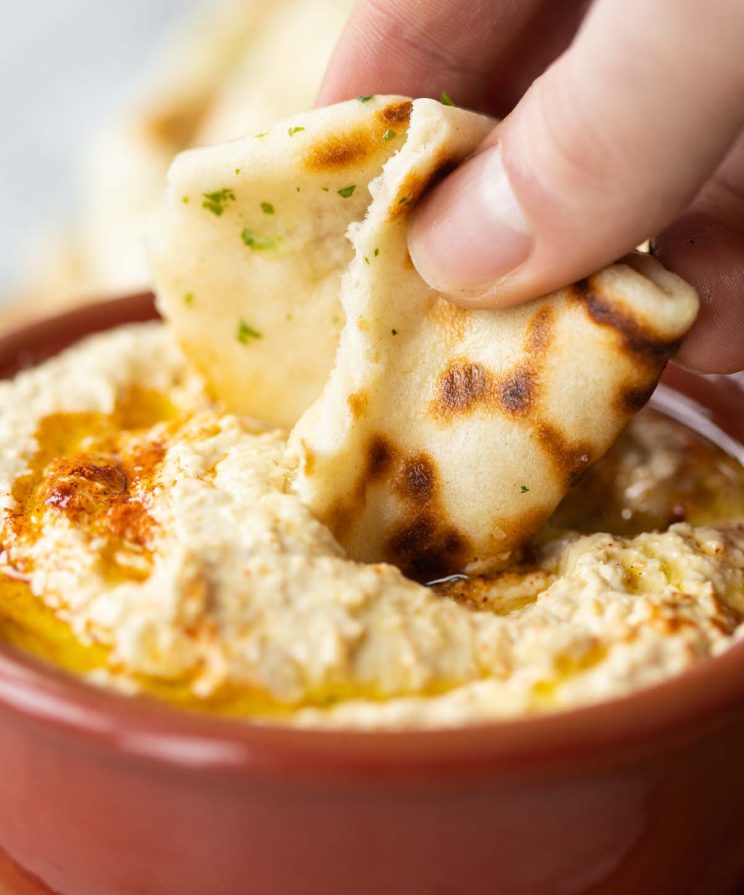
I honestly serve these with just about everything. They go perfectly with curry (namely chicken curry in a hurry) and great with dips (namely hummus). I’ve even got a recipe for flatbread pizzas!
How to store flatbread
You can store the dough in the fridge once divided and rolled out (with baking paper in between). You can also cook & cool them and store at room temp for a couple of days. Can also be frozen, just defrost at room temp or bake/fry to heat up again. In all cases though they’re best made fresh and leave off the garlic butter until serving if you’re using it!
Looking for more ways to use these flatbreads? Check out my Garlic Flatbread Pizzas!
Alrighty, let’s tuck into the full recipe for these flatbreads shall we?!
How to make Flatbreads (Full Recipe & Video)
The Easiest Flatbreads in the World!
Equipment
- Large Mixing bowl & Whisk
- Frying Pan & Tongs
- Rolling Pin
- Brush (for oil)
- Sharp Knife & Chopping Board
- Spatula
Ingredients
- 7oz / 200g / 1 tightly packed cup Plain/All Purpose Flour
- 6.3oz / 180g / 3/4cup Plain Natural Yogurt (unsweetened)
- 1 1/2 tsp Baking Powder (not baking soda!)
- 1/2 tsp Salt
- 8 tsp Olive Oil (optional)
Instructions
- Whisk together flour, baking powder and salt in a large mixing bowl. Make a well in the centre then pour in the yoghurt. Roughly combine with a spatula until it starts coming together, then form a ball with your hands. The texture should be very slightly tacky, but not so much it sticks to your fingers. The perfect consistency will take all the dough off the edges of the bowl. If you need to add more flour work in a pinch at a time.
- Dust some flour on a flat surface and knead for a few minutes until nice and smooth/lump-free, adding more flour as you go. The kneading process will dry out the dough so don't add too much or it'll throw off the consistency and cause the flatbreads to crack/come out hard.
- Use a sharp knife to divide into 4, then roll into circles around 8" wide. Brush one side of each of them with olive oil (just enough to lightly coat the surface, around 1 tsp per side should suffice).
- Heat a pan over high heat and add a flatbread oil-side-down when the pan just about begins to smoke. Brush the top of the flatbread with oil. Allow the dough to puff up and lightly char for about 60-90 seconds. Flip and leave to lightly char on the other side, another 60-90 seconds. Remove from pan and repeat (see notes for garlic butter).
Video
Notes
Your Private Notes:
Nutrition
Looking for more?
You’ll find plenty more delicious comfort food like this in my Debut Cookbook ‘Comfy’


I am definitely saving this recipe. It was super easy and made really yummy flatbreads. I used it to make flat bread grilled cheese for my kiddo and she loved it.
So pleased to hear, Shannon! Thanks so much for the review 🙂 C.